Unlock Anti-Aging Secrets In The Perfect Everything Shower Routine
This everything shower routine will transform your self-care routine and leave you feeling (and looking) fully rejuvenated and refreshed.
This everything shower routine takes it a step further by incorporating anti-aging treatments. We all want to maintain a youthful appearance and slow down the signs of aging. What better way to do it than while we’re in the shower?
This post may contain affiliate links. This means I may earn a small commission if you purchase a product through my link at no extra cost to you. All items are carefully curated by me and reflect my honest opinion.
What Exactly is an Everything Shower?
An “everything shower” is basically a full self-care session where you give yourself the works from head to toe. Think deep cleansing, exfoliation, and deep moisturizing treatments.
It’s not your quick in-and-out rinse; it’s all about taking your time and pampering yourself.
This is Not Your Typical Shower Routine!
An everything shower can take 1-2 hours, depending on how indulgent you want to get.
You can do them in the morning or at night. I like to do mine at the end of the day, and I start preparing for it in the afternoon by cleaning the bathroom and gathering any shower supplies I need.
What Are The Benefits of an Everything Shower Routine?
Benefits include glowing skin, shinier, healthier hair, and a notable boost in mood and well-being. It’s like a mini spa day you can indulge in without leaving home.
By dedicating time to a thorough routine, you’re pampering yourself and investing in long-term anti-aging benefits and overall health and wellness.
Plus, An everything shower can help reduce stress, improve circulation, and give you that coveted radiant glow from head to toe.
Preparing for the Ultimate Everything Shower Routine

The perfect everything shower starts by creating the right ambiance.
Transform your space into a sanctuary by starting with a clean bathroom and bedroom. If possible, do this earlier in the day.
Then light a scented candle and ensure the room is warm and cozy, as a cold bathroom can ruin the vibe.
Gather all your shower products and tools beforehand so you don’t face any interruptions mid-shower.
A little preparation will help you mentally transition into relaxation mode. Think of it as crafting your own mini oasis, where you can fully immerse yourself in the experience.
The goal is to create a space that allows you to escape from daily stress and focus solely on pampering yourself.
My prep:
- Clean bathroom/bedroom space
- Add hair towel, bath towel, and robe to the towel warmer
- Pick a matching PJ set
- Light a candle
- Turn on music
- Gather all products
A Step-by-Step Guide to the Perfect Everything Shower
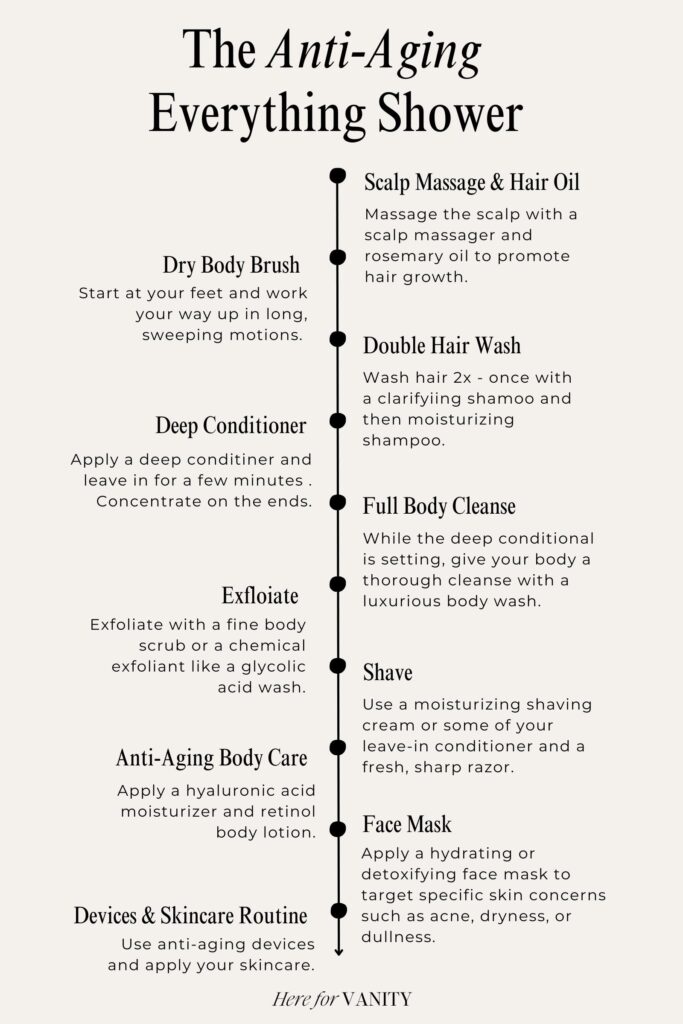
Step 1: Scalp Massage and Pre-Shower Hair Oil
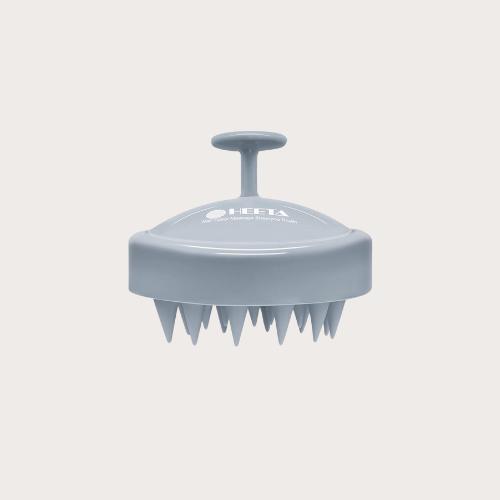
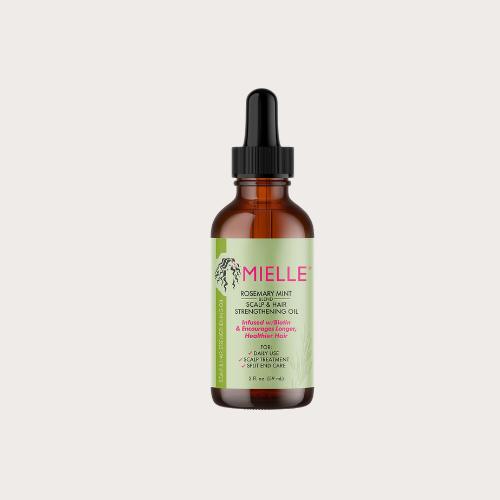
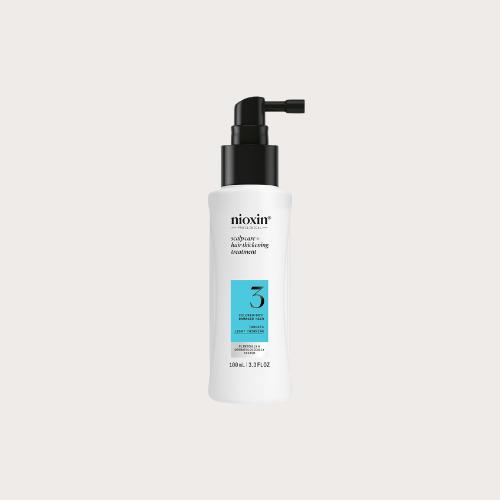
Before you get in the shower, gently massage the scalp with a scalp massager and rosemary oil to promote hair growth. Then, apply your favorite deep-conditioning mask or hair oil treatment.
Use a product like the Moroccanoil Treatment, packed with argan oil to moisturize and add shine. Apply it to your hair, focusing on the ends, and let it sit in a shower cap or warm microfiber towel while you prepare for the rest of your shower.
This pre-shower hair treatment helps to protect your hair from the harsh effects of shampooing and will ensure your hair stays silky, smooth, and hydrated. It feels like a lot of oil, but it will be thoroughly washed out.
Step 2: Dry Brush for Lymphatic Drainage
While your hair mask sits, take a few minutes to dry brush your skin.
Using a body brush like Kitsch Body Dry Brush, start at your feet and work your way up in long, sweeping motions, moving outwards towards your lymph nodes.
Dry brushing is fantastic for exfoliating dead skin cells. This not only leaves your skin smoother but also helps detoxify your body, improving your overall health and wellness.
Plus, it feels invigorating and sets the tone for the rest of your shower.
Related: The Ultimate Body Detox: How to Dry Brush for Lymphatic Drainage
Step 3: Double Hair Wash
Now it’s time to wash your hair, but not once—twice!
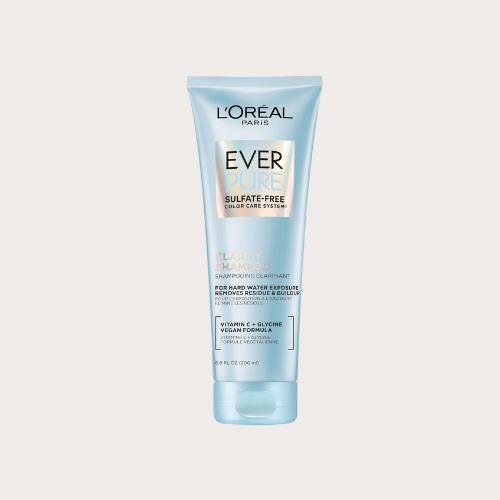
The first wash should be with a clarifying shampoo like L’oreal’s Everpure Clarifying Shampoo, which will remove any buildup of product, oil, and dirt. A scalp scrub is also a great way to remove product buildup.
This is important for maintaining a healthy scalp, which, in turn, gives you healthy hair.
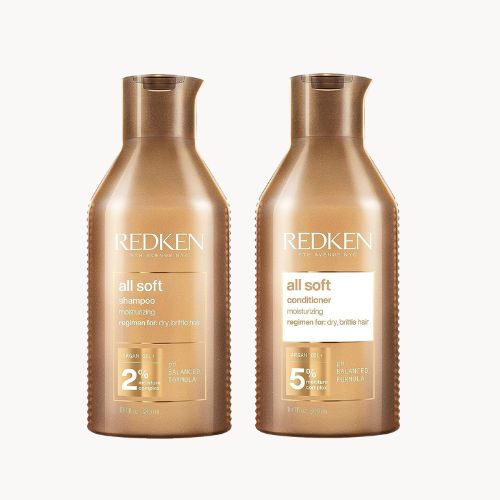
Follow up with a hydrating shampoo such as Redken’s All Soft Shampoo (the BEST). This second wash will add moisture and ensure your hair is thoroughly cleansed and nourished.
Double shampooing might seem excessive, but it makes a huge difference in keeping your hair healthy and shiny.
Step 4: Deep Conditioner
After washing, it’s time for a leave-in conditioner.
This step restores moisture, repairs damage, and enhances shine, and deep conditioning treatments help combat the effects of heat styling, color treatments, and environmental damage.
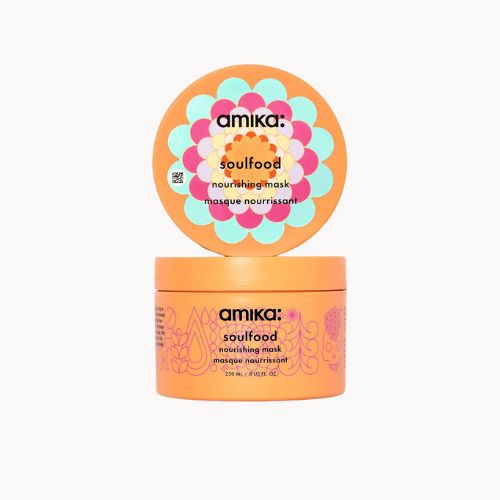
Use a rich product like the Amika Soulfood Mask which, if anything, you should get because it smells AMAZING.
Apply the conditioner generously, concentrating on the mid-lengths and ends of your hair, then let it work its magic for a few minutes before rising.
Step 5: Full Body Cleanse
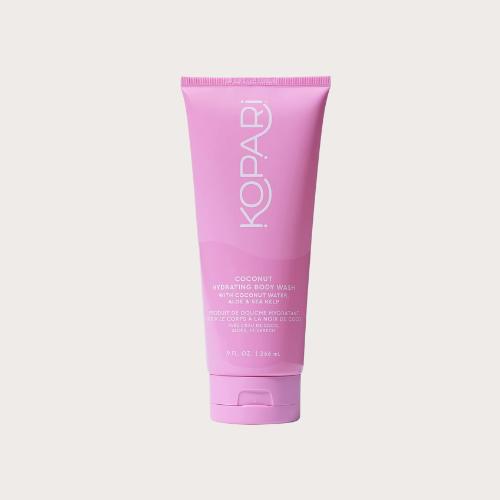
While the deep conditional is setting, give your body a thorough cleanse with a luxurious body wash. Kopari’s Hydrating Body Wash is my all time favorite—it’s gentle, hydrating, and lathers so well.
Use a loofah or washcloth to work up a rich lather and cleanse every inch of your skin. This step ensures that your skin is clean, refreshed, and ready to absorb any moisturizing treatments you apply afterward.
Step 6: Exfoliate
An extra step worth adding to your everything shower is a full-body exfoliation.
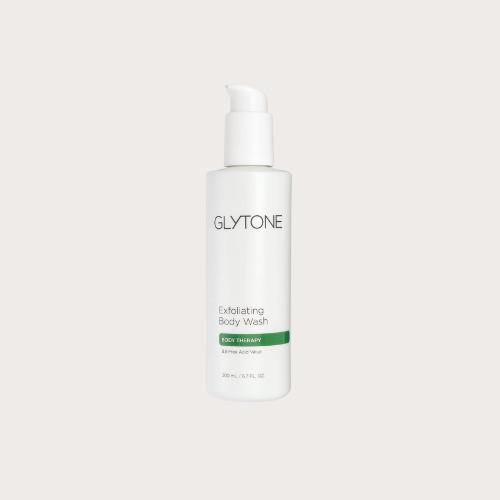
This can be physical exfoliants like a body scrub or a chemical exfoliant like a glycolic acid wash. I alternate depending on what my skin needs.
Exfoliating helps boost circulation and improve skin texture and tone, making your skin appear more youthful and radiant. Plus, some scrubs have caffeine, which can help tighten the skin and reduce the appearance of cellulite.
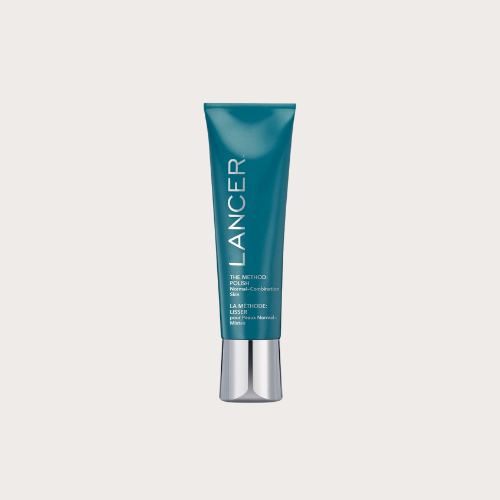
My favorite exfoliating scrub is the Lancer Polish – technically it’s a facial scrub but I use this on my body as well because the exfoliating beads are so fine.
Tip: Plan your exfoliation game before your shower routine. You don’t want to risk over exfoliating and damaging the skin barrier, so it’s important to pick a physical scrub, chemical wash, or omit all together if you plan to add a body exfoliator lotion after the shower.
Step 7: Shave
If shaving is part of your routine, now’s the time.
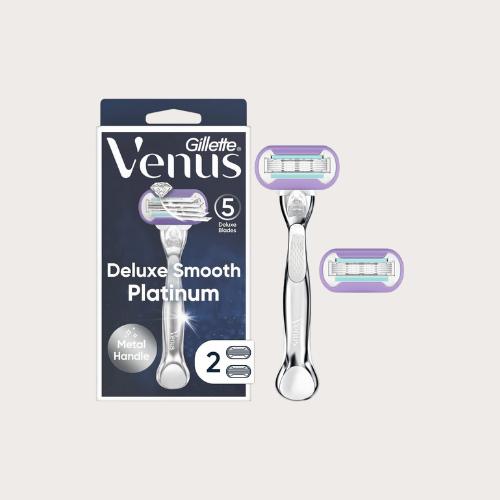
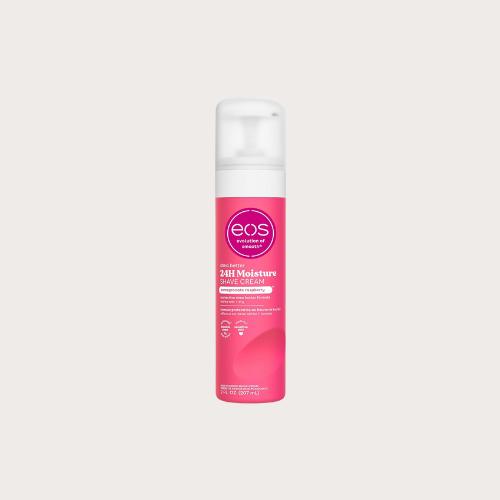
Use a moisturizing shaving cream or some of your leave-in conditioner and a fresh, sharp razor.
I get laser hair removal, so I don’t shave for hair removal much anymore, but I like to shave my entire body for extra exfoliation and to remove any peach fuzz.
Shaving body hair after exfoliating and cleansing allows for a closer shave and reduces the risk of ingrown hairs. Plus, your skin will be smoother and help absorb your moisturizers and oils later.
Step 8: Anti-Aging Body Care Routine
Once you’re out of the shower, lock in that moisture while your skin is still damp.
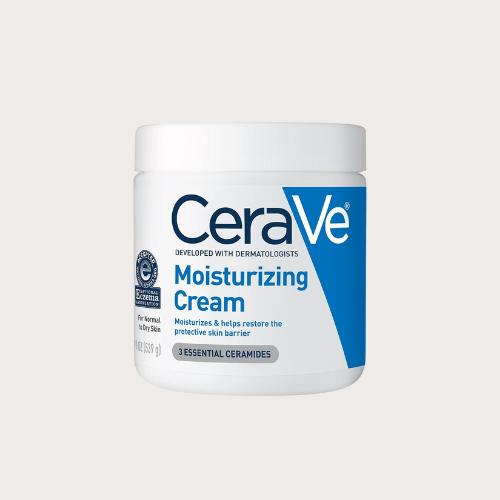
Use a rich body lotion like CeraVe’s Moisturizing Cream, which contains hyaluronic acid and ceramides, to deeply hydrate dry skin and restore the skin’s barrier. Applying to damp skin helps the lotion absorb better and seals in hydration.
I like to mix a body moisturizer or body butter with my favorite body oil for an extra dose of hydration and to add radiance to the skin.
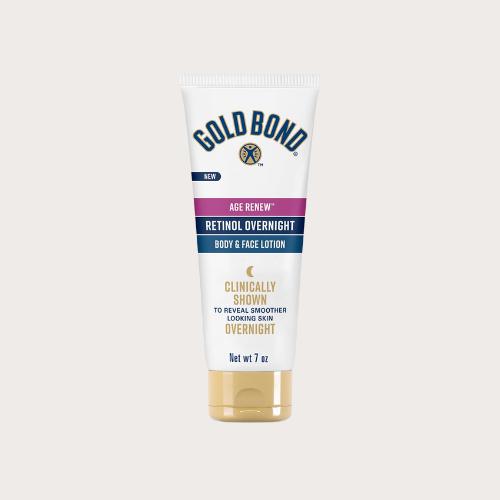
If it’s Retinol night, I will also apply a retinol body cream or mix tretinoin in with a body lotion.
Tip: If you’re struggling with acne-related body breakouts, here’s a tip: Add salicylic acid toner to a mini spray bottle and spritz it over your body before applying lotion.
Related: 14 Body Care Hacks For Irresistibly Glowing Skin
Step 9: Face Mask
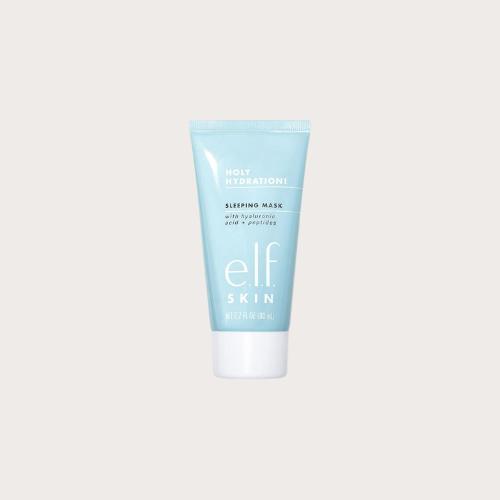
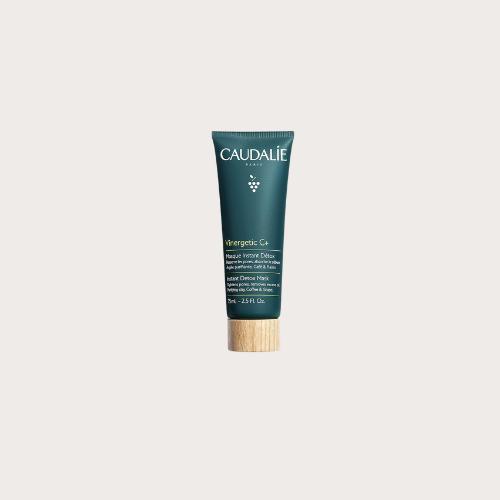
Don’t forget about your face! Apply a hydrating or detoxifying face mask to target specific skin concerns such as acne, dryness, or dullness.
A good face mask can provide intense treatment and significantly improve the appearance and health of your skin when used regularly.
Leave the mask on for the recommended time while continuing your body care routine.
I’ll admit that I’m pretty bad at consistently using face masks, so I like adding one to this everything shower routine to ensure I’m using them!
Step 10: Anti-Aging Devices & Skincare Routine
The final step includes a full skincare routine, including any special anti-aging devices you prefer to use.
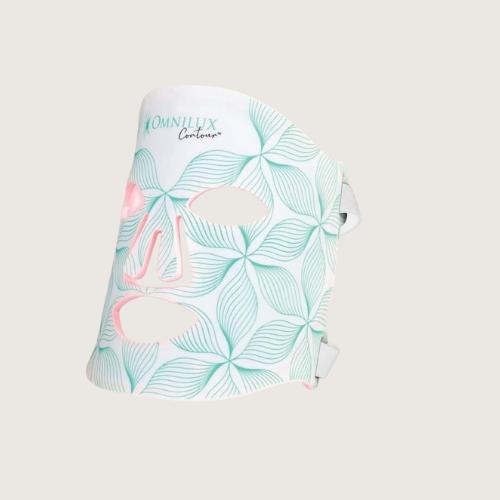
If you have an LED red light or another device, now’s the time to use it! Then, proceed with your anti-aging skincare routine for the entire body and face.
I like to focus on products that tighten and rejuvenate the skin – firming serums, lactic acid treatments, etc.
Tip: Bring your facial skincare down to your chest and shoulders and even on your body!
If it’s daytime, finish with a broad-spectrum sunscreen like EltaMD UV Daily Broad-Spectrum SPF 40 to protect your skin from harmful UV rays.
Related: The Best At-Home Beauty Devices Right Now
How Often Should You Take an Everything Shower?
While the Everything shower is a self-care treat, it’s not something you need to do every day.
Aim to keep your hair and skin in top condition once a week or once every other week. This is enough to get all those anti aging benefits without overloading your routine.
Think of it as a regular ritual to look forward to—your special time to unwind and indulge.
Everything Shower Checklist
- Hair Mask or Oil
- Scalp Massager
- Body Brush
- Clarifying Shampoo
- Hydrating Shampoo
- Deep Conditioner
- Body Wash
- Body Scrub or Chemical Exfoliating Body Wash
- Shaving Cream and Fresh Razor
- Body Moisturizer
- Body Oil
- Face Mask
- Anti-Aging Devices (LED Red Light, Microcurrent)
- Skincare Products
- PJ Set
There you have it! An indulgent and effective anti-aging everything shower routine. Dive in, pamper yourself, and emerge feeling (and looking) like the best version of yourself.
PIN to reference for later:
