How To Glow-Up Overnight: A Step-by-Step Guide
This post is all about how to glow-up overnight head to toe with a step-by-step glow-up routine.
This post may contain affiliate links. This means I may earn a small commission if you purchase a product through my link at no extra cost to you. All items are carefully curated by me and reflect my honest opinion.
The Overnight Glow-Up
Sometimes, life calls for a personal refresh, whether it’s for a last-minute event, a vacation, or to boost your mood.
A “glow-up” might seem like a time-intensive process, but you can do several simple things overnight to wake up looking and feeling better.
This glow-up routine is your ultimate guide to waking up transformed, and it’s easier than you might think.
In this guide, our goal is to look the absolute best we can within 24 hours.
We’re focusing on glowing up everything aesthetically head to toe – the body, skin, brows, hair, nails, and teeth.
ALL OF IT.
Ready to look amazing? Let’s go!
Step 1 | Diet and Hydration
We’ll get to the fun stuff in a minute. But first, let’s set the foundation of a glow-up – it all starts with your diet and hydration.
There’s no time to redo your diet or embark on a new exercise regime, but here are my go-to tips when I have to feel lean and tight the next day.
Drink Plenty of Water
I aim for 3L to a gallon – this will help flush out toxins, allow you to go to the bathroom (no constipation), and keep your skin glowing. I like to add electrolytes too.
Reduce Sodium
Sodium isn’t bad (in fact, I always encourage drinking electrolytes), but if you’re trying to reduce any puffiness, temporarily reducing sodium intake can ensure your body doesn’t retain extra water.
The easy way? Cut back on any packaged or processed foods.
Reduce Starchy Carbs
Carbs are great – I don’t restrict them at all. However, the more starchy carbs we consume the day before, the more water we’ll also naturally retain. If this isn’t a concern for you, by all means, omit this tip.
Step 2 | Body
Our goal is to get smooth, soft, glowing skin. We’ll do this by thoroughly exfoliating, moisturizing, and getting our glow on with a high-quality self-tanner.
Dry Brushing
Dry brushing helps stimulate circulation and remove dead skin cells. Use a natural bristle brush and work in gentle, circular motions towards the lymph nodes for 5-10 minutes. This step will make your skin appear smoother and brighter.
Shave & Shower Exfoliation
In the shower, shave and gently exfoliate your skin and shave to create a smooth base for hydration and self-tanning. If you can exfoliate the day before or in the morning, that’s best because it give your skin pores a chance to close before tanning. If you do it right before tanning, that’s okay – wait at least 15-30 minutes.
Self-Tanner
My secret weapon. A good self-tanner the night before will give you an instant healthy golden glow and is a staple on my glow-up list.
After your shower, wait until you’re completely dry (at least 15 minutes). Then, apply a 1-2 coats of self-tanner evenly, ensuring to carefully blend around the ankles, knees, and elbows.
Moisturizer
If you’re self-tanning before bed, wait until the next morning after your morning shower to slather on a good moisturizer.
I try not to add moisturizer before or after self-tanning since I want that self-tanner to adhere to the skin. The morning after, however, I rinse off my tanner and add an extra hydrating moisturizer or oil.
Step 3 | Hair
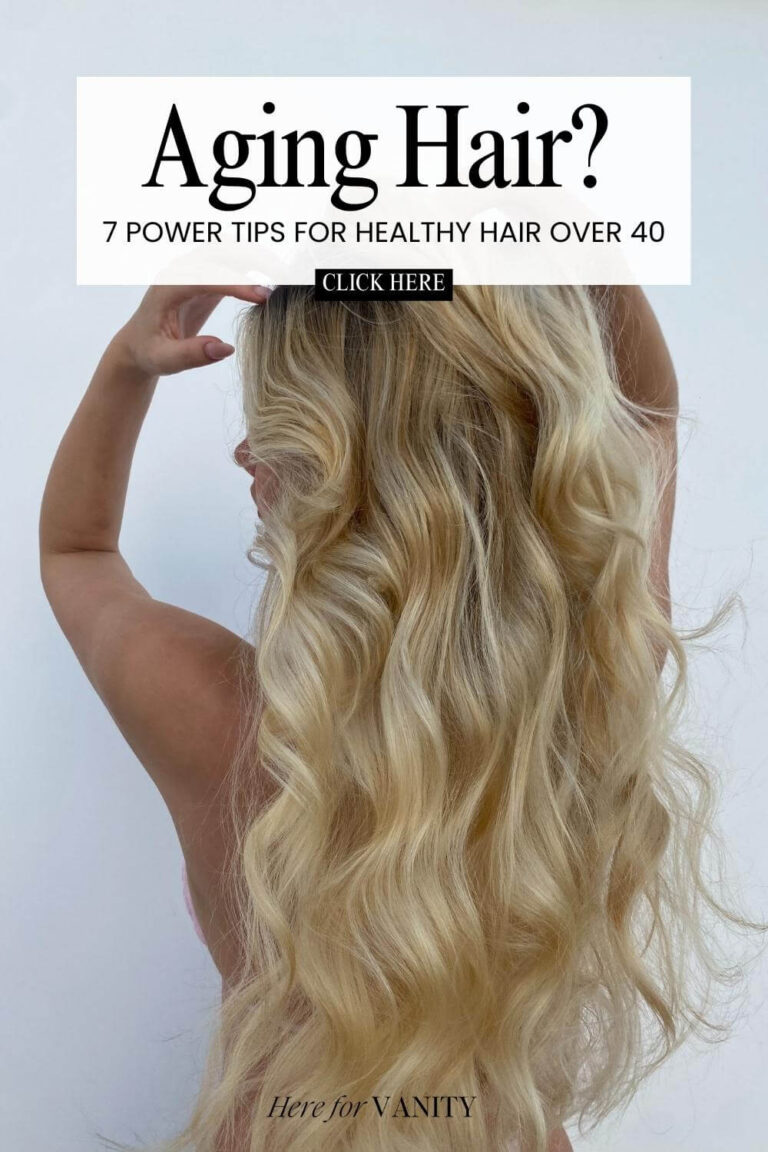
Good hair = a good day. You’re guaranteed to look your best when the hair is clean, bouncy, and styled.
Scalp Massage
A scalp massage feels great and stimulates hair follicles for healthier growth. I primarily do this to remove any build-up so that hair looks better and is easier to style.
Deep Conditioning
Deep conditioning can enhance the shine and glossiness of your hair, making it look healthier and vibrant. A good hair mask or deep conditioner also makes my hair smooth and soft, reducing the look of any split ends.
Complete this step after your normal shampooing routine.
Heatless Curls or Blowout
There’s nothing better than voluminous, bouncy hair or soft curls. Opt for heatless curls set overnight or a gentle blowout for an effortless style.
I like doing most of this the night before and gently touching up the next day with a curling wand.
Hair Smoothing Oil
Finish off with a smoothing oil to add shine and tame any frizz. And, it makes the hair smell amazing, which is part of the reason why I love to do it.
Step 4 | Skin and Face
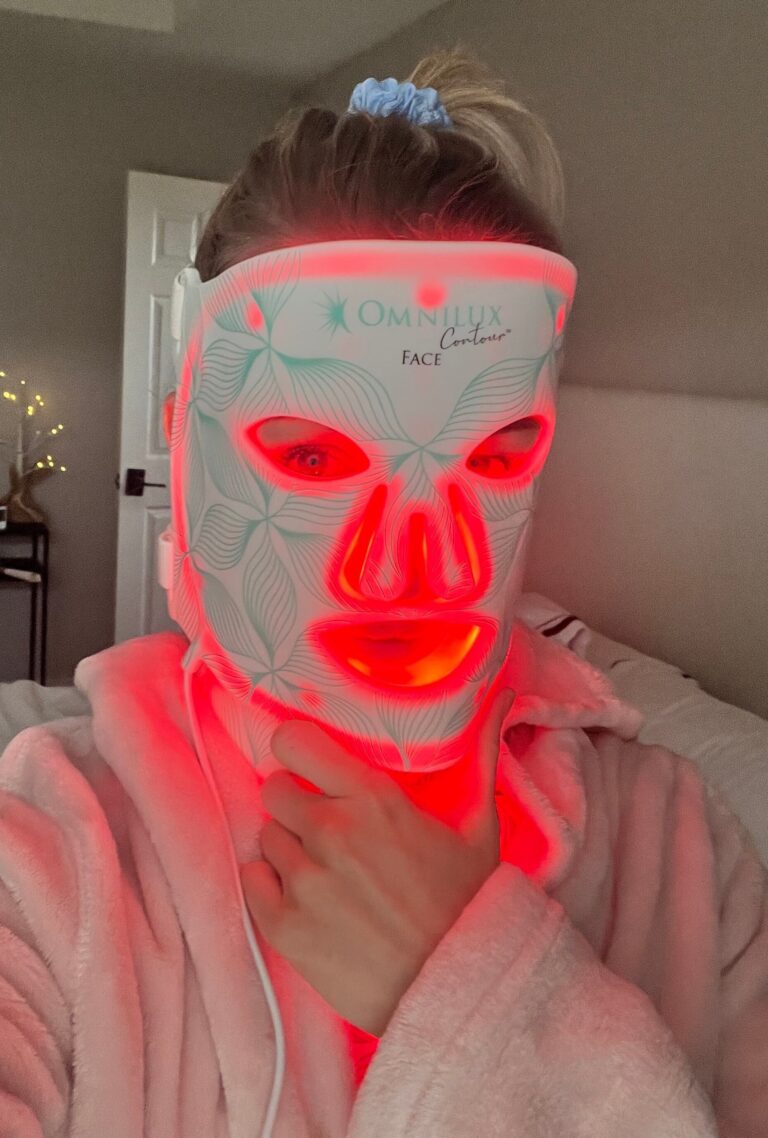
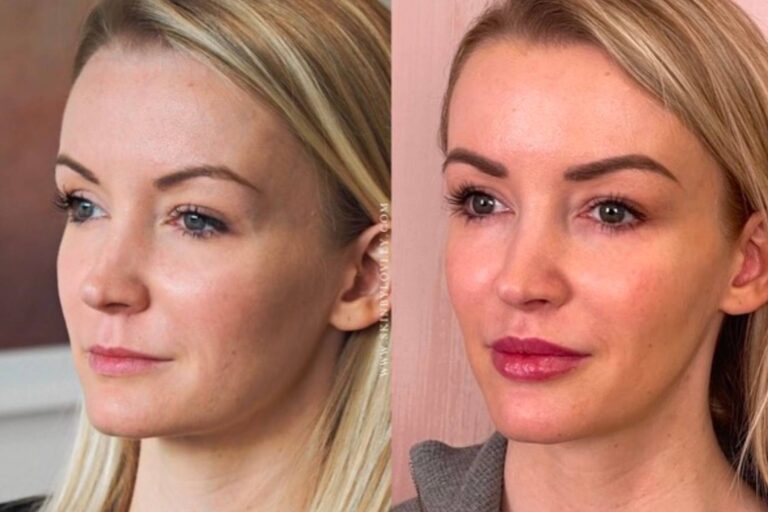
We’re going to spend some extra time pampering the skin because glowing, healthy skin is a key part of an overnight glow-up.
Exfoliation and Dermaplane
After washing, use a gentle chemical exfoliant to slough away dead skin, giving you a brighter complexion. Carefully dermaplane with a facial razor to remove peach fuzz from the face for a smooth canvas for your makeup the next day.
Eye Treatment
The under eyes make a big difference in our appearance, so we’re choosing a specific eye cream formulated with caffeine to reduce puffiness and peptides to help reduce the appearance of fine lines & wrinkles.
Blemishes
If you have any active breakouts or blemishes, do not pop or pick at them! It’s so tempting, especially when you’re up close with a magnifying mirror.
Instead, put on a hydrocolloid patch like the Mighty Patch. It’s amazing how well these patches work overnight to reduce the blemish size.
Overnight Face Mask
Apply an overnight mask suited for your skin type after your regular moisturizer. I prefer ones that have glycerine, hyaluronic acid, and other moisturizers for that plump, glowy look.
Lips
Your lips need love, too! We want them soft and plump in the morning. Gently exfoliate your lips to remove any flakey lip skin (a washcloth works well, too), and hydrate with a nourishing lip mask.
Step 5 | Brows
Brows make such a big difference, don’t they? A shaped and tinted brow will frame your face beautifully and a drugstore brow tint is a beauty hack you can complete in less than 5 minutes.
Brow Tint & Groom
No need to spend money on a specific brow tinting product – the Just for Men beard and Mustache tint is an inexpensive beauty secret I’ve been using for years.
My brows are microbladed now, but I will still use this once in a while when I want to reframe my shape and make my brows a touch darker which gives my face a nice contrast.
If you’re doing this for the first time, I recommend trying a lighter shade or leave it on for less than the recommended time.
Lastly, clean up any stray brow hairs with a good pair of tweezers (Tweezerman are the best).
Step 6 | Hands and Feet
Don’t forget your nails – they’re foundational to an overnight glow-up.
My favorite glow-up hack? A pair of press-nails. They’re easy and instantly upgrade your look. Or, spend some time giving yourself a nice manicure with polish. I love a bright red.
Cuticle Oil
Start by gently pushing back the cuticles and moisturizing the nail beds with cuticle oil. Even if you don’t have time to do your entire nail routine, this makes an instant difference.
Press on Nails or Polish
For manicures, my go-to is a set of fake nails. I have been using them for over ten years and they always look better than any set of gel or acrylics from a salon. The best I’ve used are from the Kiss brand and OPI.
For pedicures, I find the press on toenails too big for my feet and don’t look right, so I opt for polish.
Moisturize the Feet
We don’t want dry feet or cracked heels, and here’s your secret weapon – The Kerasal Foot Ointment (a dermatologist’s favorite).
Slather this on after your pedicure and wake up to baby-soft feet. Alternatively, use a deep moisturizer, slather on some Aquaphor, and cover with socks.
Step 7 | Teeth
Teeth Whitening
Whitening at home is an easy beauty boost. No need to visit a dentist’s office to get your teeth whitened – the Crest White Strips work really well and can be done while you’re multitasking.
This is a fun step because it can make such a big difference in one session.
Step 8 | Beauty Sleep
Want to really know how to make your skin glow overnight? SLEEP. A restorative night of sleep is critical. Do everything you can to get at least 7-8 hours of sleep to allow your body to heal and rejuvenate.
A good night’s sleep will also reduce dark under-eye circles and ensure your skin is glowing when you wake up.
Read Your Ultimate Self-Care Night Routine for a guaranteed good night’s sleep.
Silk Pillowcase
It’s a non-negotiable for me nowadays. If you don’t have a silk pillowcase, you’re missing out. I love these because the soft silk prevents skin creases and protects hair from breakage and flyaways.
Bedtime Tea or Detox Tea
Sip on a detox tea before bed to aid in relaxation and inner cleansing. This is not absolutely necessary, but when I drink 1 cup of tea with dandelion root, it helps reduce that last little bit of water weight.
If tea isn’t your thing, I also love the Magnesi-Om by Moon Juice.
The Next Day
By the next stay, you should look pretty damn good. Here’s a quick checklist for the next day:
- Morning shower to rinse off the base layer of the self-tanner (don’t scrub or exfoliate)
- Slather on a good body lotion to keep the skin hydrated and will help prolong your self-tanner
- Refresh the hair with a volumizing dry shampoo, if needed, and a few extra touch-ups with a hair tool
- Check mani and pedi and clean up any nail polish mistakes
- Take some time to do your favorite skincare and makeup routine
- Put on a great outfit
Your Glow-Up Checklist
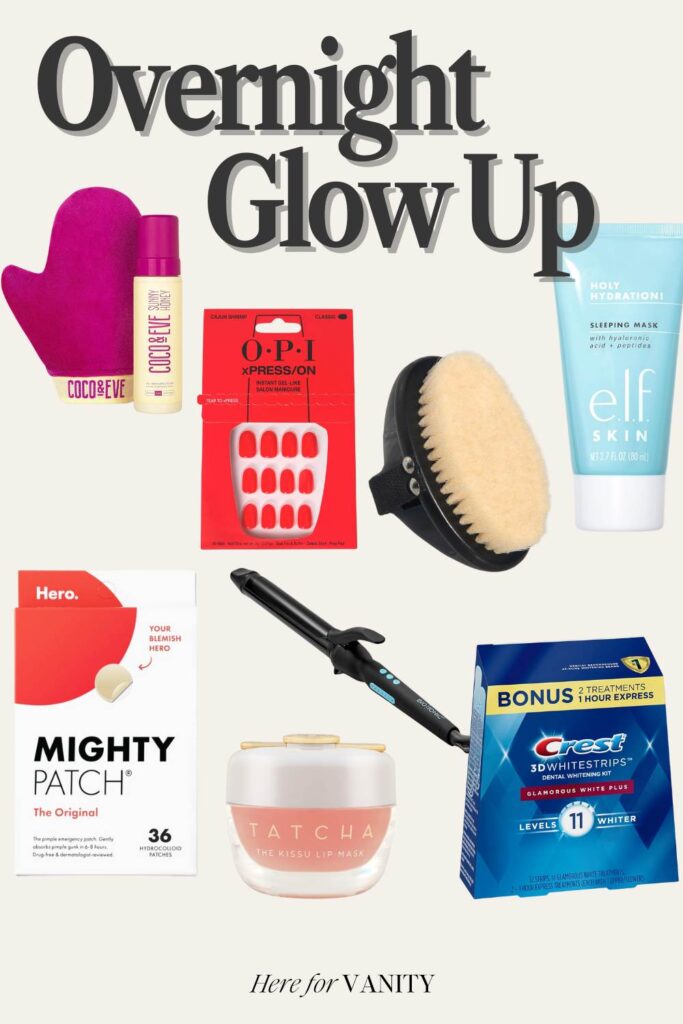
Come back to this again when you need an instant glow-up. Here’s an easy reference glow-up checklist with everything you need.
Body
- Dry brush
- Shaving razor
- Loofah
- Non-oily body wash (if self tanning, you will want oil-free)
- Self-tanner and application mitt
- Body moisturizer
Hair
Face & LIPS
- Gentle chemical exfoliant for the face
- Dermaplane razor for face
- Caffeine eye cream
- Hydrocolloid patches (if needed for any breakouts)
- Overnight hydrating face mask
- Scrubby lip exfoliator
- Hydrating lip mask
Brows
Hands & Feet
- Cuticle oil
- Press on nails and/or nail polish
- Kerasal Foot Ointment (SO GOOD) or Aquaphor
- Foot Cream
Teeth
Beauty Sleep
What’s your favorite way to glow up overnight? Tell me in the comments below!

