The Best Self-Tanners for Fair Skin (and Foolproof Routine)
Today, we’re covering the best self-tanners for fair skin and a foolproof routine for a natural-looking glow.
Navigating the world of self-tanners has been quite the adventure for someone as naturally pale as me. And when I say pale – I mean pale-pale! Translucent, ghostly, whatever. I have no chance of tanning naturally, even if I wanted to.
Alas, I’ve amassed a small mountain of bottles, sprays, and mousses over the years in my quest for the perfect bronzed glow without looking like a carrot.
Now, at 40, with countless tanning products tried and tested, I have mastered the ultimate routine and found some of the best tanners on the market. In this article, I’ll share the easiest, foolproof routine, self-tanner tips, and the best self-tanners to help you get a flawless, streak-free tan that lasts.
This post may contain affiliate links. This means I may earn a small commission if you purchase a product through my link at no extra cost to you. All items are carefully curated by me and reflect my honest opinion.
Choosing the Right Self Tanner
The Formula
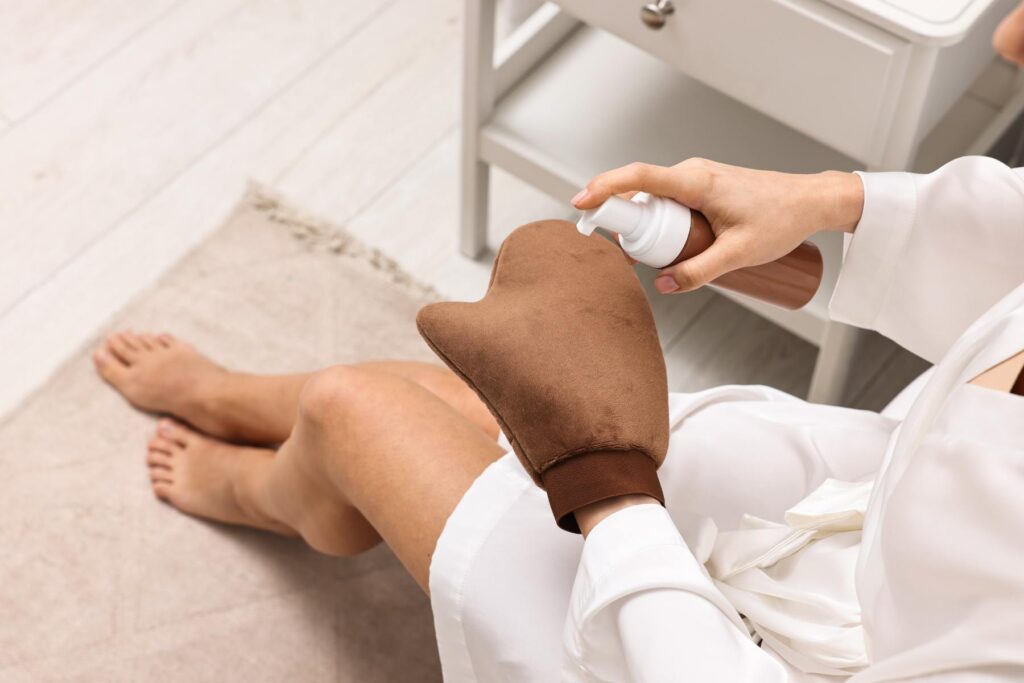
There are lotions, mousses, and sprays, and the choice ultimately comes down to personal preference. I like mousses because they’re easy to blend, and I prefer serums for the face.
Pick Your Color and Tint
If you’re new to self-tanning, start with a product formulated for fairer skin tones. These are usually lighter and build gradually, allowing you to control the depth of your tan more quickly. If your skin color is light, you can start tanning every other day instead of once a week.
I prefer medium to dark and love mixing brands with multiple on hand. Additionally, I recommend choosing a product with a tint so you can see where you’re applying it.
Choosing the Right Undertone
Selecting the right undertone will guarantee a more natural look. If you have a cool skin tone, opt for a self-tanner with a violet or green base to counteract redness. For warm skin tones, a red or golden base product will enhance your natural glow.
Experimenting with different undertones can help you find the perfect match for your skin, ensuring a seamless and natural-looking tan.
The Best Self-Tanners For Fair Skin
Here are the best self-tanners I’ve tried on my fair skin. These products are great for any skin tone because they provide a natural color payoff and blend seamlessly without making you look like an oompa loompa.
They also have a decent scent (if you know the typical self-tanner smell), and, most importantly, they are not sticky. I prefer tanners that dry down quickly and don’t leave that tacky feel.
Self-tanning is definitely a commitment, but trust me, it’s worth it.
You’ll want to use a mix of products for your body and face to get that perfect tan. Gradual self-tanning lotions or bronzers can enhance your overall look and help maintain your tan.
Think of it like this: a tanning mousse or spray for the body gives you that easy, even application, while a serum or gradual tanning lotion for the face lets you build up the color without going overboard.
Combining different formulas gives you a natural, streak-free glow that looks just right.
The Best Overall Self Tanner for Body
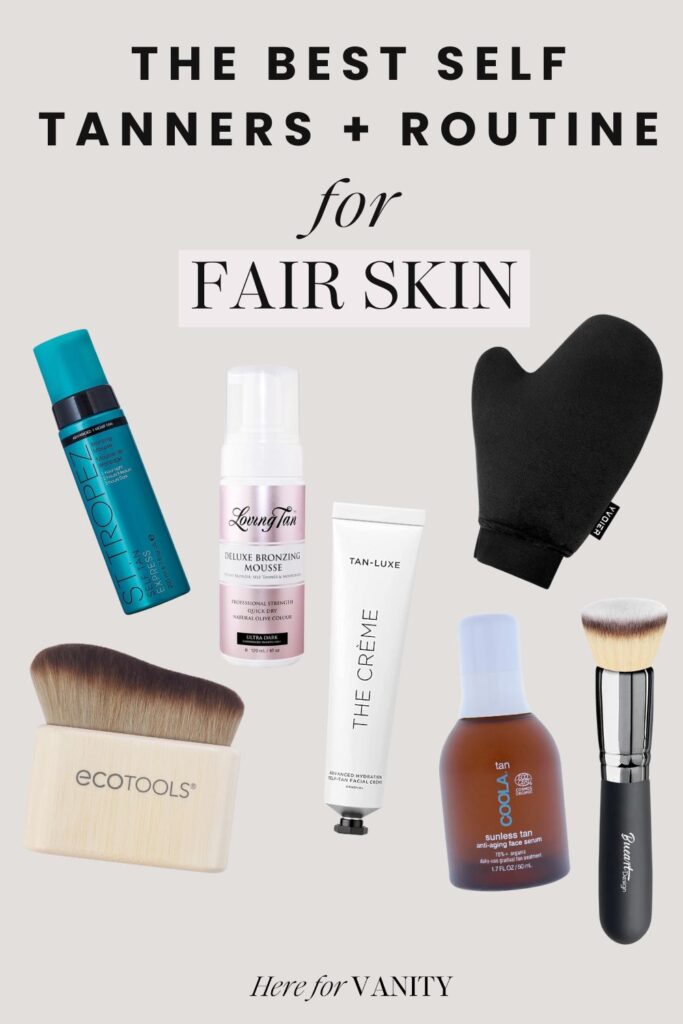
Coco & Eve Self Tanner Mousse Kit
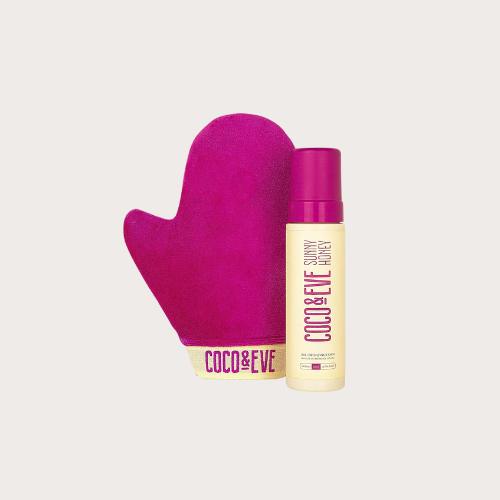
This is the go-to if you’re looking for easy application and a good color payoff that still looks natural. I like that this one comes with a mitt (and it’s a good one). The Coco & Eve formula is chemical-free and has botanicals, amino acids, and antioxidants to help fight the signs of aging (yay!). It has become my holy grail – I have this one on my Amazon subscribe and save, and I mix their medium and dark shade together for a perfect medium-dark that lasts for days.
The Best Self-Tanner for Face
COOLA Organic Sunless Self Tanner Face Serum
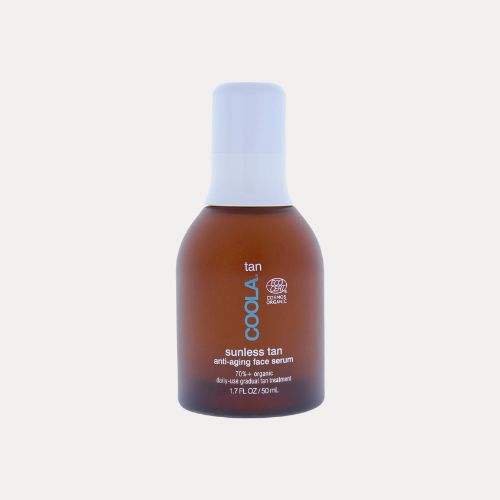
I have tried all the gradual tanner drops, but I still go back to the COOLA self-tanner face serum. It’s lightweight, packed with skin-loving ingredients, and smells like pina colada. This one runs slightly cooler, is toned on me, and looks really natural. I see a difference after one application, but it can be gradually built up over a few days for a deeper hue.
While you can use regular self-tanners on your face, too, I find that they can be drying, so I prefer one made specifically for the face.
I’ll take a big buffer brush and swipe it all over my face, and then I’ll use a denser makeup brush to create contours around the cheekbones and nose. This is also a great option for sensitive skin.
The Best Smelling Self Tanner
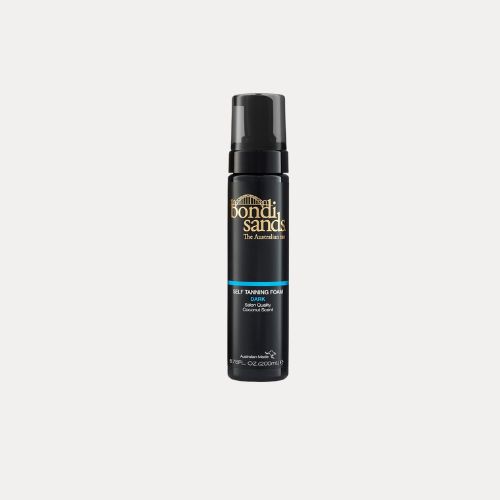
This smells like coconuts and barely smells like D.H.A. at all. I really like using this if I want to self-tan before getting ready for the day because it guarantees I won’t smell like a self-tanner. The lightweight mouse formula spreads evenly and dries down quickly without any tackiness. This one is always in my rotation.
The Best Quick-Drying Self Tanner
St. Tropez Self Tan Express Mousse
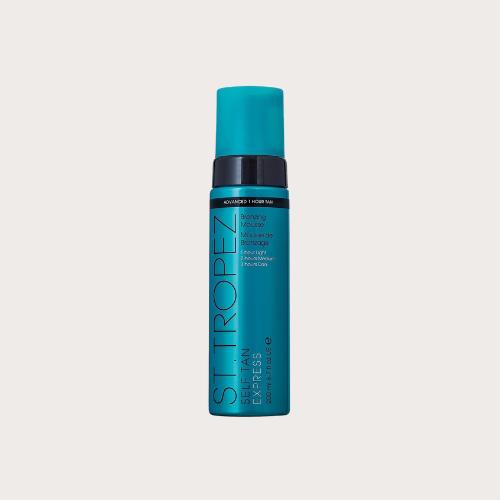
When I want a dark tan fast, I reach for the St. Tropez Self Tan Express Mousse—my O.G. self-tanner since 2016.
This tanner dries quickly and develops within a few hours. I still feel I get the best results when I use any tanner overnight, but if I want some color quickly, this one is a tried-and-true.
It does smell like a self-tanner, but it’s worth it for the fast color payoff.
The Best Self Tanner for a Deep Tan
Loving Tan Deluxe Bronzing Mousse, Ultra Dark
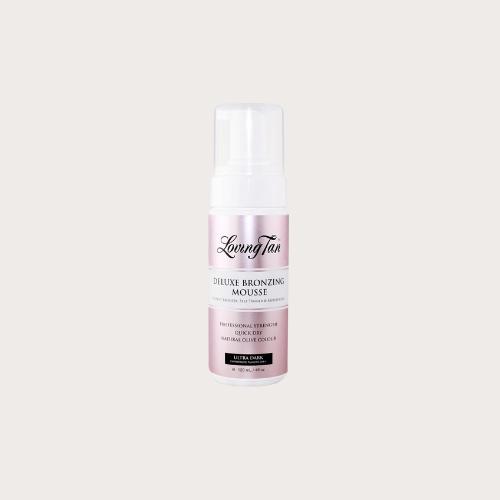
You can always count on Loving Tan for a good quality fake tan. The first time I tried this one, I was impressed – it reminded me of a spray tan you get at a salon.
Loving tan has different shades to choose from I like their ultra dark version when I want a deep, even tan. Although it’s a darker color, the color guide makes it really easy to apply evenly for a natural-looking color.
Loving Tan also sells its “Platinum” version, which costs more but is supposed to develop the deepest. I’ve tried them all, and personally, I feel that the “Ultra Dark” is just as good, and it costs less.
The Best Gradual Self Tanner
Jergens Natural Glow +FIRMING Self Tanner
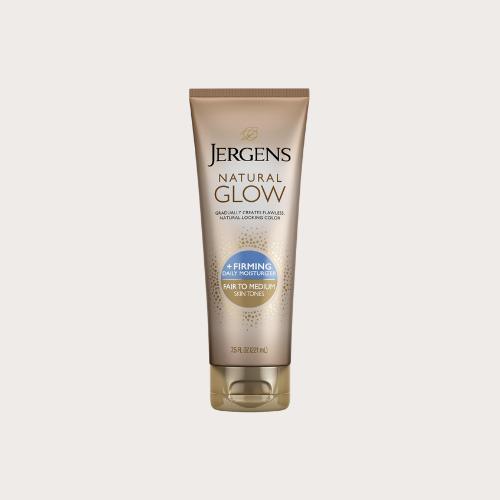
Jergens was the very first self-tanner I tried over two decades ago. Back then, self-tanners were notorious for being orange and streaky. As the world of self-tanners evolved, I moved on to other brands and forgot about Jergens.
Recently, I gave it another shot, and I’m glad I did. The Natural Glow Self Tanner lotion provides a subtle, gradual tan that builds a beautiful glow throughout the week.
What sets this product apart is its firming ingredients, like green tea, which help reduce the appearance of cellulite.
I use it as my everyday moisturizer, maintaining a subtle, sun-kissed glow effortlessly. It’s also a vacation essential for me—reapplying it throughout the week eliminates the need to worry about self-tanning while on the go.
The Best Self Tanner Lotion
Beauty by Earth Self Tanning Lotion
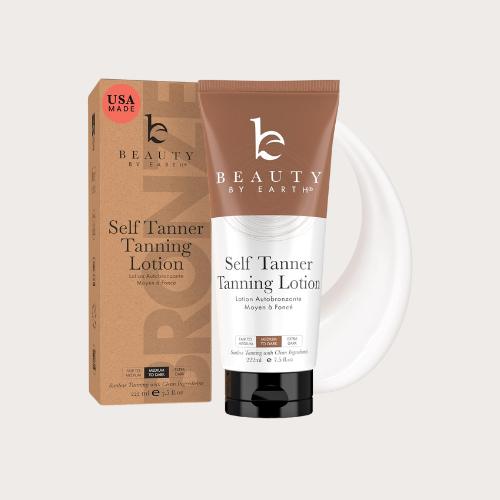
I love mousses, but some people prefer lotions, which are usually more hydrating. I decided to try Beauty by Earth Self Tanner on a whim after seeing it had over 14,000 five-star reviews and promised a natural, organic tan.
This self-tanning lotion has aloe vera and coconut to keep your skin hydrated while developing a beautiful, sun-kissed glow.
I like the formula of this one, but I wish they made a tinted version so you can see where you’re applying it.
The Best Anti-Aging Self Tanner
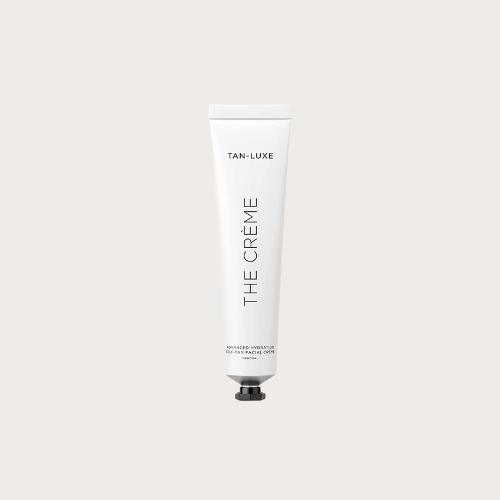
I’m always on the hunt for self-tanners that include skincare benefits.
The one downside of self-tanning frequently is that I tend to skip out on my regular anti-aging skin care products. I can’t use retinoids or acids, for example, because they counteract the tanning process.
The Creme by Tan Luxe has a unique formula that has been a game-changer for me.
It has anti-aging ingredients like hyaluronic acid, Glycine, Leucine, and L-Phenylalaine, so it gives you a beautiful tan and hydrates and firms your skin.
Plus, it’s incredibly easy to apply and doesn’t leave any streaks (perfect for lighter skin).
I like using this on my face, neck, and decollete. Bonus points – the packaging looks so luxe!
Foolproof Self-Tan Routine
For best results, it’s all about mastering the right routine and application techniques.
Admittingly, I used to dread self-tanning. It was smelly, sticky, and streaky. Applying it at night meant stained sheets; applying it during the day meant smelling like self-tanner all day.
I’d usually rush through the process to get it over with, and while I would have a little glow, I didn’t have the right techniques or products to make it look even or last more than a couple days.
Now, I self-tan 1x a week, and I’ll double up tanning days (self-tanning sessions back to back) if I have a special event. More on that routine in a minute. My tan lasts about 5-7 days and fades naturally.
Self Tan Preparation
Good preparation is key to a natural result. I like to prepare the day before I apply any self-tanner by thoroughly shaving and exfoliating my body with a simple scrub or loofah and body wash.
Exfoliating the day before gives your skin pores time to close, preventing self-tanner from settling into them and causing irritation or the dreaded “strawberry legs” look. It also ensures that you won’t have any leftover body wash or products on your skin, which can interfere with the self-tanner developing correctly.
Exfoliate
The first step in your self-tanning routine is exfoliation. Removing dead skin cells ensures an even application and prevents patchiness. Use a gentle scrub or an exfoliating mitt to buff away dead skin cells, focusing on dry areas like elbows, knees, and ankles. I love the Lancer Face polish – I get the Jumbo size and use it on my body. Most body exfoliators have oil mixed in and this one doesn’t. Sometimes I’ll mix this with an oil free body wash.
Shave
If you plan to shave, do it before applying self-tanner to avoid streaks. Shaving also helps exfoliate your skin, making it smoother.
Lightly moisturize
Hydrate dry areas only with a light, oil-free moisturizer. Pay special attention to your elbows, knees, ankles, around your fingers/toes, and any other dry spots. This step prevents the self-tanner from clinging to these areas and creating dark patches. I skip moisturizer over the entire body to ensure the self-tanner adheres to the skin. If it’s damp or overly moisturized, the color may not develop as deep.
Self Tan Body Application
The right product and tools will ensure a flawless tan. This is where pale skin gals need to pay special attention because a haphazard application will leave you with streaks and splotches. I prepare with a self-tanner mitt, buffer brush, and a pair of rubber gloves. I like to cover my hands because self-tanner can sometimes get in the mitt, and it allows me to spread tanner evenly in small spaces.
Apply with a Mitt
Use a tanning mitt to apply the self-tanner. A mitt ensures even distribution and prevents your hands from getting stained. Start with a small amount and apply in sweeping, circular motions.
Work in Sections
Applying self-tanner in sections, like focusing on your legs first, then your torso, and finally your arms, helps ensure you cover every area evenly before the product dries. For those tricky spots, I recommend using a velour back tanner applicator. It’s much better than those mitt-on-a gadgets because you can wrap it around for better coverage. If all else fails, you can always ask a friend to help with your back!
Blend Well
Take extra time to blend around tricky areas like your knees, elbows, and ankles. Use what’s left on the mitt for your face, neck, and feet to ensure a natural transition.
Get the Hands and Feet
Use the leftover product from the mitt and sweep over the hands and feet, paying close attention around the ankles and knuckles which can cling to product. A buffer brush helps even it out. My favorites are the EcoTools Body Brush and this Flat Top Buffing Foundation Brush but any old makeup buffing brush will do.
Self Tan Maintenance
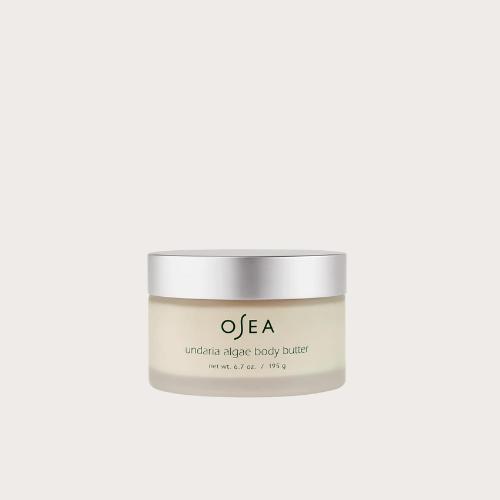
Maintaining your self-tan is just as important as applying it. Moisturizing daily keeps your skin hydrated, helping your tan last longer and fade evenly. Opt for a lotion without too many oils or harsh chemicals, as these can break down your tan faster. I love this rich body butter for moisturizing.
Also, gentle showers are your friend—avoid long, hot baths and avoid exfoliating scrubs until you’re ready to reapply. Touch up as needed with a gradual self-tanner to keep your color looking fresh.
Removing Your Self Tanner
When it’s time to start fresh, hop into a warm shower and exfoliate with a good scrub or a loofah to help break down the tan. Products like tan removers can be lifesavers (especially for mistakes)—they help dissolve the color, making it easier to wash away.
Be patient and gentle with your skin during this process to avoid irritation. Once your old tan is mostly gone, you’re ready to reapply and start the cycle again!
Best Self-Tanning Tools
Tanning on fair skin takes some patience and precision. These tools have transformed my tanning routine, making it easier and giving me a professional-looking tan every time. Here’s a breakdown of the essentials:
Scrub Exfoliator
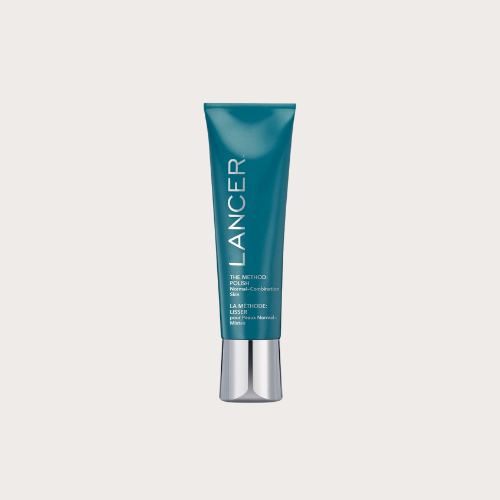
My favorite method is using the Lancer Polish mixed with a tiny bit of body wash. It’s oil-free and has super-fine scrubbing particles that remove every bit of dry skin. It’s a bit pricey, so I like to buy the jumbo size and keep it on my Amazon Subscribe and Save list.
Loofah
Alternatively, a good ol’ loofah and body wash works fine, too.
Body Wash
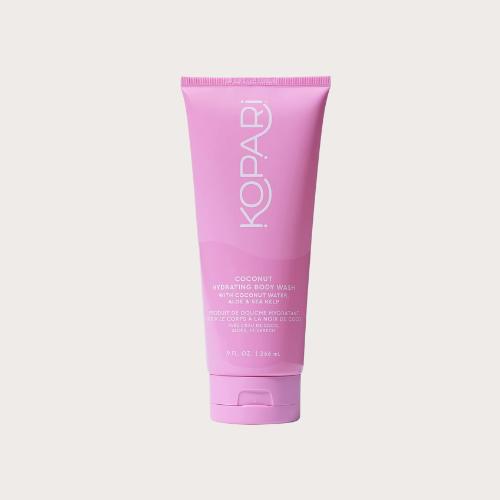
Opt for a clear body wash instead of a heavy cream or oil-based one. This will ensure you don’t have excess product on your skin before tanning. The Kopari Coconut Body Wash is my favorite—it’s hydrating but not heavy.
Moisturizer
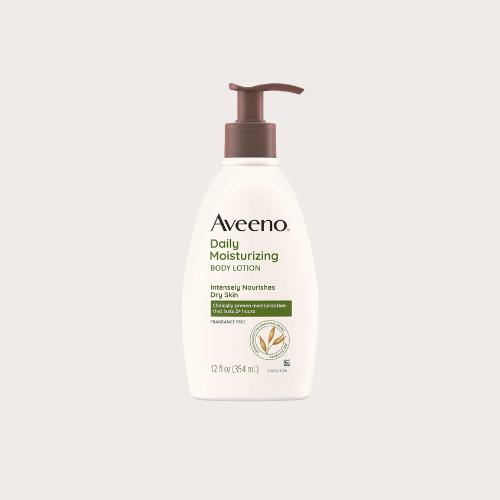
I use a lightweight body lotion for dry spots before tanning, and then I follow up after tanning with a rich body butter to keep my skin hydrated. The best everyday moisturizer is the Aveeno body lotion, and one of the best body butters is the OSEA Body Butter.
Floor Length Mirror

A floor length mirror is a must have to make sure you get every part of your body! So many times I’ve missed the back of my leg or a spot on my back, and a full-length mirror helps catch those missed areas.
Gloves
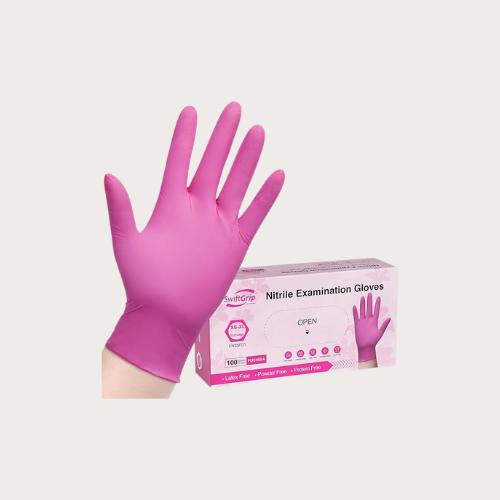
I wear these powder-free nitrile exam gloves when applying self-tanning lotions and underneath a self-tanning mitt as extra assurance. This ensures I don’t end up with self-tanner splotches on my fingers.
When I’m done with my self-tanning routine, I’ll sweep the excess for a mitt or buffer brush over the tops of my hands and feet to ensure everything blends well.
Self-Tanning Mitt
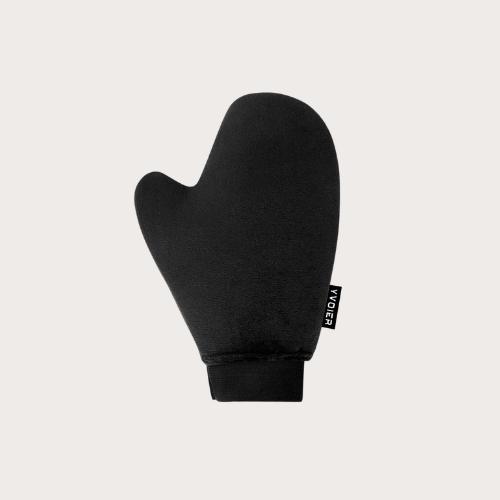
A good self-tanning mitt is a must-have. Get the velour once instead of the foam-like ones. They are machine washable and last forever.
Buffer brush
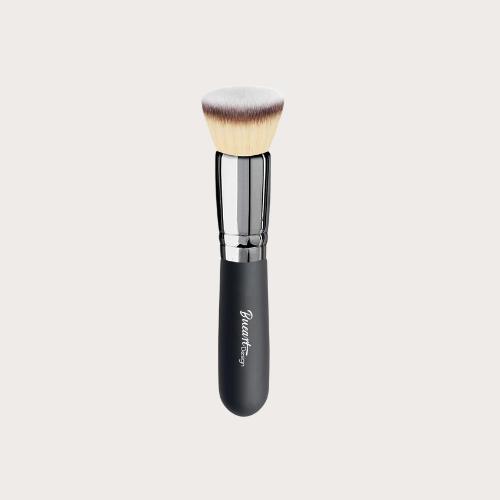
A makeup buffer brush is great for hands, feet, and the face and neck area.
Detail brushes
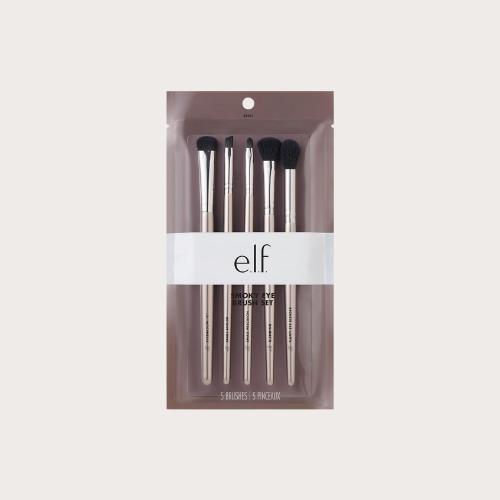
I have a few dedicated makeup brushes specifically for self-tanning. I get the inexpensive makeup brushes from E.L.F. or use any old makeup brush I have lying around. Sweep self-tanner over your eyelids, down the nose, around the cheekbones, etc., for a natural face contour without makeup. They’re also great for fixing any mistakes or getting around the hands and feet.
Pajama Set
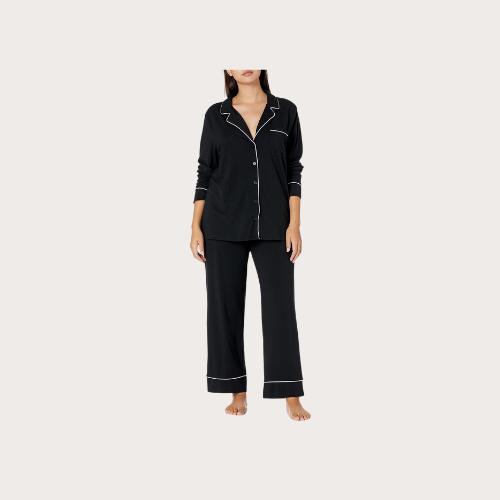
Lastly, if I’m self-tanning before bed, I like to wear a full-length pajama set to protect my sheets. These soft and inexpensive ones from Amazon are perfect.
Self-tanning might seem like a lot of steps, but once you find the right formula and have all the right tools, it becomes easier and faster. You can achieve a natural-looking tan year-round by mastering your application technique and sticking to a routine.
I’m always on the lookout for the next best self-tanner. What have you tried? Let me know!

