Best Makeup Tips for Women Over 40 You Haven’t Heard Before
Something happens around 40 where makeup stops being fun and starts being…work. Fine lines show up, eyes get a little more hooded, and foundation suddenly finds every dry patch you didn’t know you had.
And the advice out there is usually the same three tips on repeat: moisturize, don’t go heavy, skip powder.
So I went hunting for specifics. I followed celebrity makeup artists, tested a lot of techniques, and kept the ones that actually made my makeup look better in real life.
Here are the makeup tweaks that made the biggest difference for me.
This post may contain affiliate links. This means I may earn a small commission if you purchase a product through my link at no extra cost to you. All items are carefully curated by me and reflect my honest opinion.
Understanding Skin Changes Over 40
Good makeup over 40 starts with skin. When your skin looks hydrated and smooth, you automatically need less makeup.
After 40, collagen production slows (often cited around 1% per year), which can affect firmness and how “tight” your makeup sits. Hormonal shifts also matter, especially as estrogen declines.
Common changes you might notice:
- Less elasticity: makeup can settle into fine lines faster
- More dryness: products cling instead of blending
- Thinner-looking skin: discoloration and under-eye darkness can look more obvious
If makeup suddenly looks different, it’s not your technique “getting worse.” Your canvas changed, so your routine has to change too.
Goal for the rest of this post: hydrated, even, lifted.
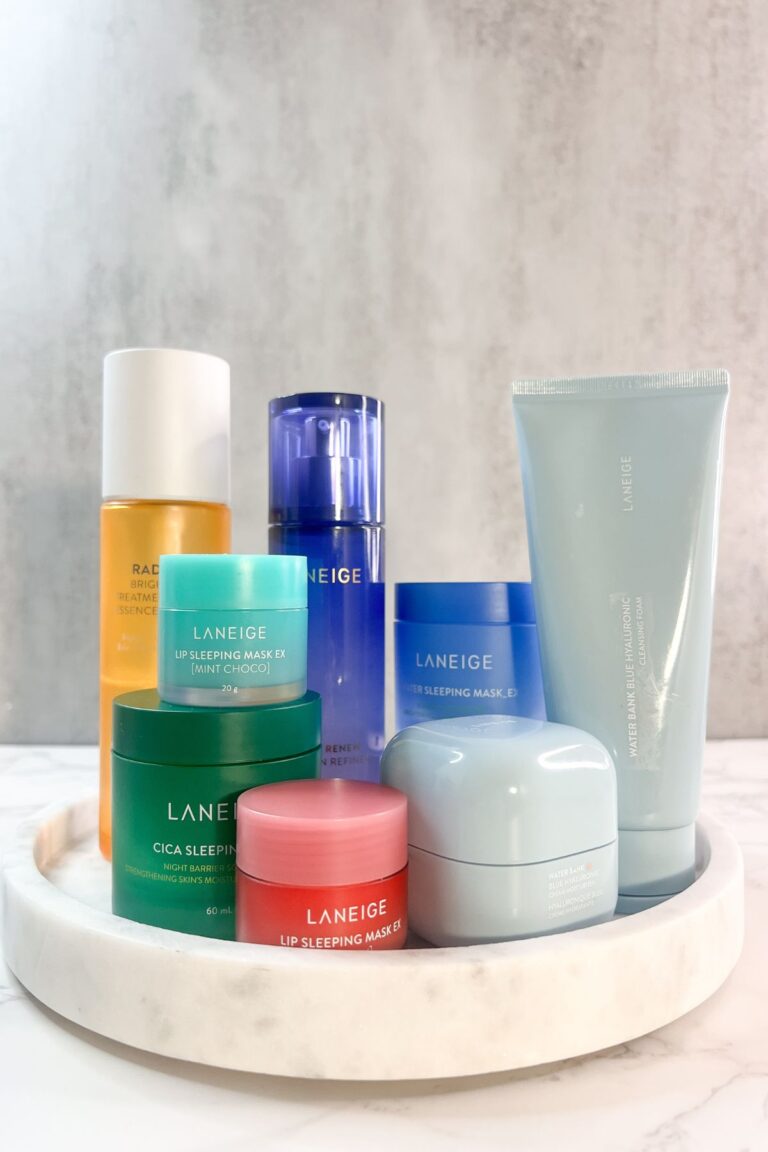
Prep the Skin with Hyaluronic Acid
We know moisturizing and skin prep is key before applying makeup.
A hack to get super-plump skin is to mist water over the face first and then immediately hyaluronic acid-based serum.
Hyaluronic acid’s unique molecular structure allows it to hold up to 1000 times its weight in water, but it needs some moisture to activate.
Let this sink in for a few minutes before doing the rest of your skincare and makeup, and you’ll have a youthful, plump canvas to work from.
Favorite hyaluronic acid serums:
- Skin Medica HA5 Hydra Collagen Hydrator
- Glow Recipe Watermelon Glow Niacinamide Dew Drops
- Cerave Hyaluronic Acid Serum
Color Correct Before Applying Foundation
Dark circles, redness, and discoloration are oh-so-common as we age.
Instead of layering on the foundation, try color correcting to neutralize imperfections first.
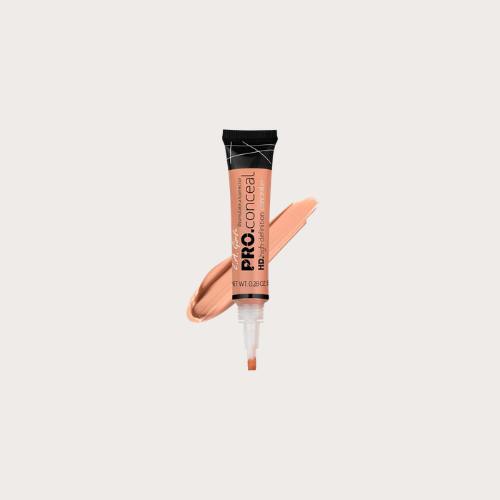
Peach or orange-toned correctors help cover dark circles, while green correctors counteract redness.
I like choosing a lightweight corrector you can layer. The key to successful color correction lies in the lightness of the application; a little goes a long way.
“When I apply to clients, I start by doing a normal skincare routine, priming, and then color correction. This way, I find I end up using less concealer or coverage because I’ve already addressed the concerns with color correction.” – Charlie Riddle, Celebrity Makeup Artist
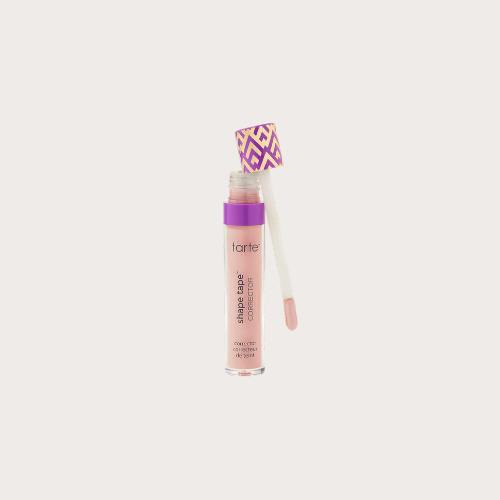
Favorite Color Correctors:
- Colorescience Total Eye 3-in-1 Eye Treatment
- L.A. Girl Pro Conceal HD Concealer, Peach Corrector
- Tarte Color Corrector
Don’t Mix Silicone and Water Formulas
Does your makeup ever get patchy? It may be because you’ve combined a silicone-based product with a water-based product.
The silicone creates a barrier that water-based products can’t penetrate, leading to an uneven finish.
Mixing the two can cause separation or pilling, which can make mature skin look even older.
Check the ingredients of your products. If they list water (aqua) or silicone (commonly ending in -cone or -siloxane) as the first ingredient, this is usually a good indicator of the formula’s base.
If your primer is silicone-based, choose a silicone-based foundation (or vice versa).
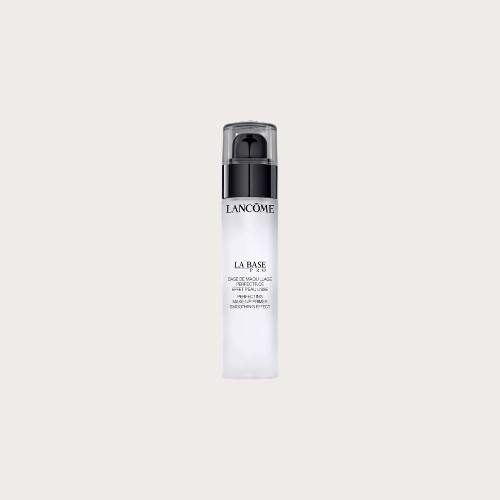
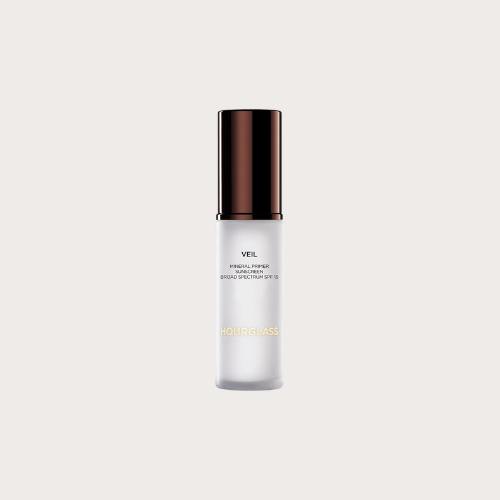
Favorite Primers:
- Lancôme La Base Pro Perfecting Oil-Free Makeup Primer
- Hourglass Veil Mineral Primer
- e.l.f. Liquid Poreless Putty Primer, Lightweight Face Primer
Sheer Out Foundation With Your Favorite SPF, Moisturizer, Primer, or Illuminator
Even the best foundations can look cakey on older skin – especially those with a matte finish.
Opt for a hydrating formula, preferably a liquid foundation, for a natural look. Then, mix your foundation with your favorite sunscreen, moisturizer, primer, or illuminator to achieve a natural and dewy finish.
Mixing something into traditional foundation sheers out the coverage and adds an extra boost of hydration and a healthy glow to your skin.
A tinted moisturizer is also a great option, but I always get better results by customizing and mixing products.
Favorite Products to Sheer Out Foundation:
- L’Oreal Lumi Glotion
- Lancôme La Base Pro Makeup Primer
- Supergoop! Glowscreen SPF 40 – Glowy Sunscreen Primer
Skip the Brushes – Press Foundation Into The Skin
For a flawless complexion, use your hands!
“A lot of makeup artists will first put foundation on their hands, rub it together, and then press it into the skin, rather than applying it with a brush. I think it gives a nicer, more natural glow to the skin.” – Haley Bieber
Alternatively, a damp beauty blender is amazing at pushing foundation into the skin.
Sometimes, I will use my hands and fingers to press the product into my skin, and then once everything is set, I bounce a damp beauty blender on top to blend everything in.
Favorite blending tools:
- Original BeautyBlender (use damp)
- IT Cosmetics Heavenly Luxe Airbrush (this brush over the face once makeup is done to blend)
- Real Techniques Miracle Complexion Sponge (use damp)


Conceal Under Eyes The Right Way
Concealer on more mature skin tends to crease and show fine lines.
For best results, prep the under-eye area with a good eye cream beforehand.
Use two concealers: one in a shade that matches your skin tone to cover hollowness or other blemishes and one slightly brighter to lift and brighten the eyes.
To brighten and lift the eye area without looking overdone, add a dot of concealer in the corners of the eyes and also on the outer corner, blending upwards.
If you are prone to creasing, set the undereye with a light dusting of powder and press with a damp beauty blender.
Favorite Undereye Combo:
- Lancôme Teint Idole Ultra Wear All Over Full Coverage Concealer
- Hourglass Veil Translucent Setting Powder
- BeautyBlender
Here’s a great video that explains how to stop concealer from creasing:
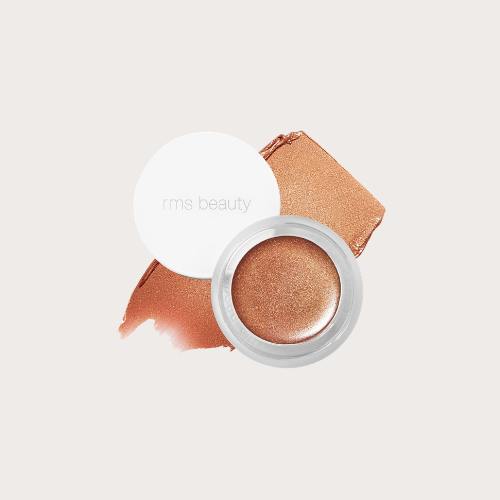
Splurge on a Cream Blush and Bronzer
Cream blushes and bronzer are your best friends when it comes to that youthful glow.
Unlike powder formulas, cream products blend seamlessly into the skin, giving you a natural wash of color.
The key is finding one that is blendable, seamless, and has the right undertones for your skin.
I’ve tried dozens of cream bronzers over the years, and I feel it’s worth splurging a bit to get a high-quality one. The last thing we want is a patchy bronzer or blush that doesn’t blend out.
Apply slightly above the cheekbone for a lifted look, and press into the skin for a seamless finish. Start with less than you think. You can always add more.
My favorite cream products are from Westman Atelier. They were a splurge, yes, but they were well worth it.
Other Cream Product Favorites:
- Tarte Sculpt Tape Contour
- Milk Makeup Sculpt Stick
- Ogee Face Stick Radiant Collection Trio – Contour Stick Makeup Collection


Angle the Brows Up & Add Warmth
Well-groomed eyebrows frame the face and can take years off your appearance.
As we age, two things happen: 1) eyebrows tend to thin out and lose shape, specifically around the tail and the front of the brows, and 2) Brow hair may turn grey if your natural hair color changes to grey (or if you have older microblading like me).
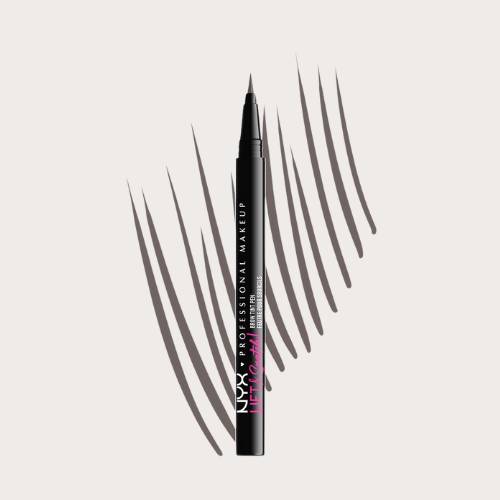
To bring youthfulness to the entire face, fill in sparse areas with a thin brow pencil or powder using light, feathery strokes, specifically focusing on the sparse areas.
Aim for a natural-looking arch that doesn’t pull down at the tail (brush brows up).
If you notice your brows turning grey, bring in a little warmth. You don’t need a separate product for this—matte eyeshadow works just fine!
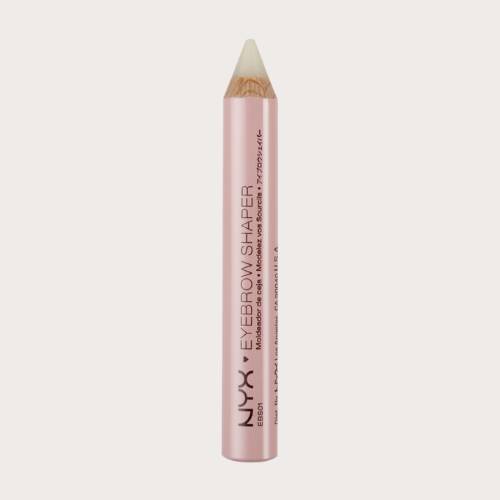
Favorite Brow Products (clearly, I really like NYX for brows):
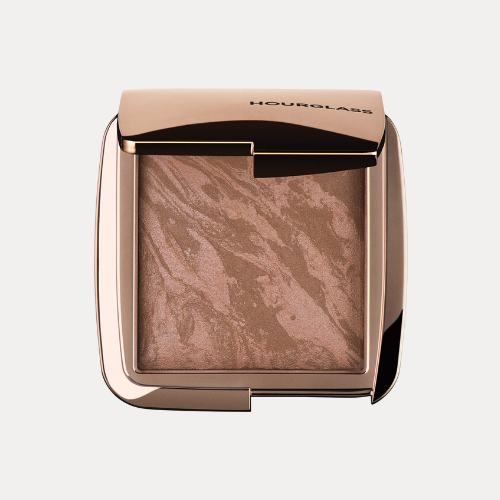
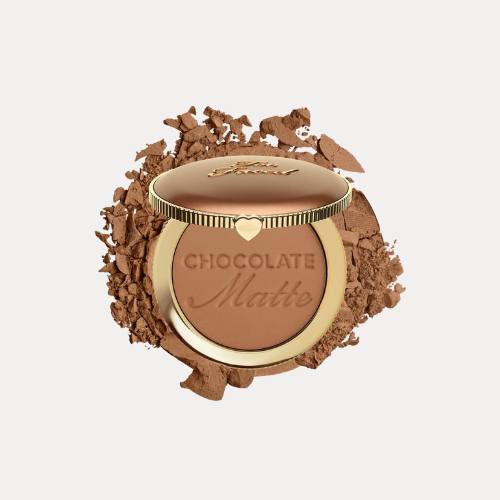
Use Bronzer for Eyeshadow
With a fluffy shadow brush, add a wash of bronzer in place of eyeshadow. Using the same products gives a cohesive, bronzy look. I also love to buff the same bronzer on the lower eyelid with a pencil brush.
Super simple and always looks great.
Favorite Blendable Bronzers:
Add a Subtle Cat Eye For an Instant Eye Lift
A subtle cat eye can instantly lift and elongate the eyes, giving you a more youthful appearance.
Instead of a bold wing that can warp with hooded eyes, opt for a softer and more wearable version.
Use eyeliner liner or shadow to create a thin line along the upper lash line, extending it slightly at the outer corner. Clean up the angle shape with a concealer brush, and you’ll have a perfect cat eye every time!
Want an even easier hack? Use your eyebrow pencil to create a subtle wing at the very outer corner of your eye. Brow pencils are slightly stiffer and usually less inky than eyeliner, so the wing looks softer and doesn’t emphasize hooding.
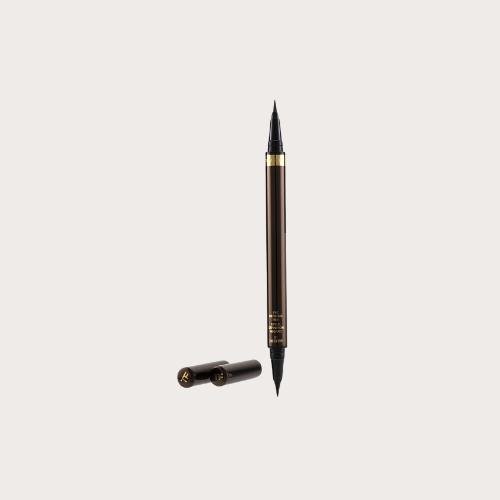
Favorite Cat Eye Products:
- NYX Brow Pencil (for a super-subtle cat eye just on the outer corner of the eye)
- Tom Ford Defining Eyeliner
- MAC Gel Liner

Stick to Black Mascara Only
Brown mascara has been trending lately as the “less harsh” and clean-girl look. I bought a few this past year, but for some reason, it didn’t make my eyes pop. I always gravitated back towards black mascara.
Brown mascara can give a dull appearance – not what we’re going for.
“I’ll never make a brown mascara,” she says on a recent Zoom call introducing her brand-new eye-focused launches. “I’m a firm believer that when older women apply a brown mascara, it tends to make the eyes look red. As we age, we want to have that really healthy, white moon-beam from the eyes rather than looking a bit yellow or red.” Rose-Marie Swift, RMS Beauty Founder
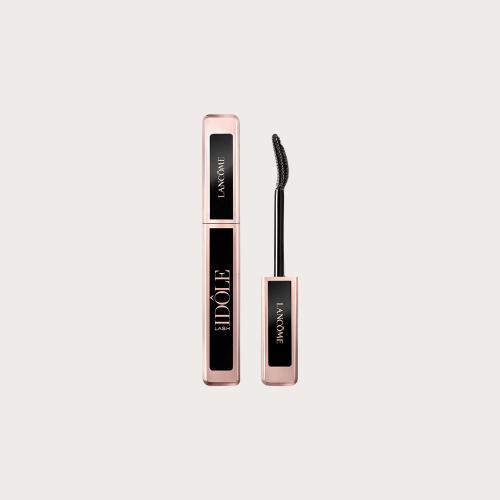
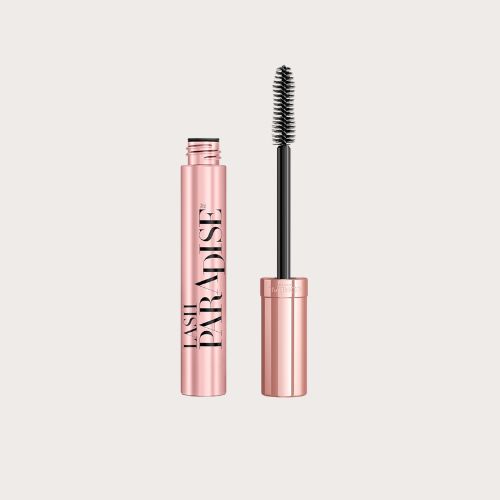
Best black mascaras that separate, lift, and volumize:
- Lancôme Lash Idôle Lash-Lifting & Volumizing Mascara
- L’Oréal Paris Makeup Lash Paradise Mascara
- CoverGirl Lash Blast Mascara

Skip the Longwear Lipsticks (Go for the Gloss)
Longwear lipsticks or matte formulas might be alright for longevity, but they’re not doing our lips any favors.
If your goal is soft, hydrated lips, lip gloss is where it’s at.
I still like a little definition of the lips, so my preferred combo is lip liner (in the color of my lips to provide a full look) + gloss.
To get a youthful lip, ever-so-slightly overline the top and bottom center portions of the lip but keep the rest of the lip liner along the natural lip line.
Slightly buff out the lip liner and top with a little gloss – perfect pouty lips every time.
Best Anti-Aging Lip Glosses:
- Maybelline Lifter Gloss, Hydrating Lip Gloss with Hyaluronic Acid
- LANEIGE Lip Glowy Balm
- Clarins Lip Comfort Oil

Makeup After 40
Makeup after 40 can feel weirdly frustrating, even if you have been doing it for years. That was me. I kept buying new products thinking the problem was the makeup, when really it was the way I was applying it.
What’s worked for me is focusing on hydration first, using less product than I think I need, and pressing everything into the skin instead of painting it on.
If you take anything from this, start with one tweak and try it for a week. Pick the one that feels the easiest, like damp skin plus hyaluronic acid, or pressing in foundation with your hands, or swapping powder blush for cream. Then build from there.
And if you’ve found a technique that makes your makeup look better than it did five years ago, share it in the comments. We’re all figuring this out together.
Want even more beauty tips? Follow along on Instagram and Pinterest.